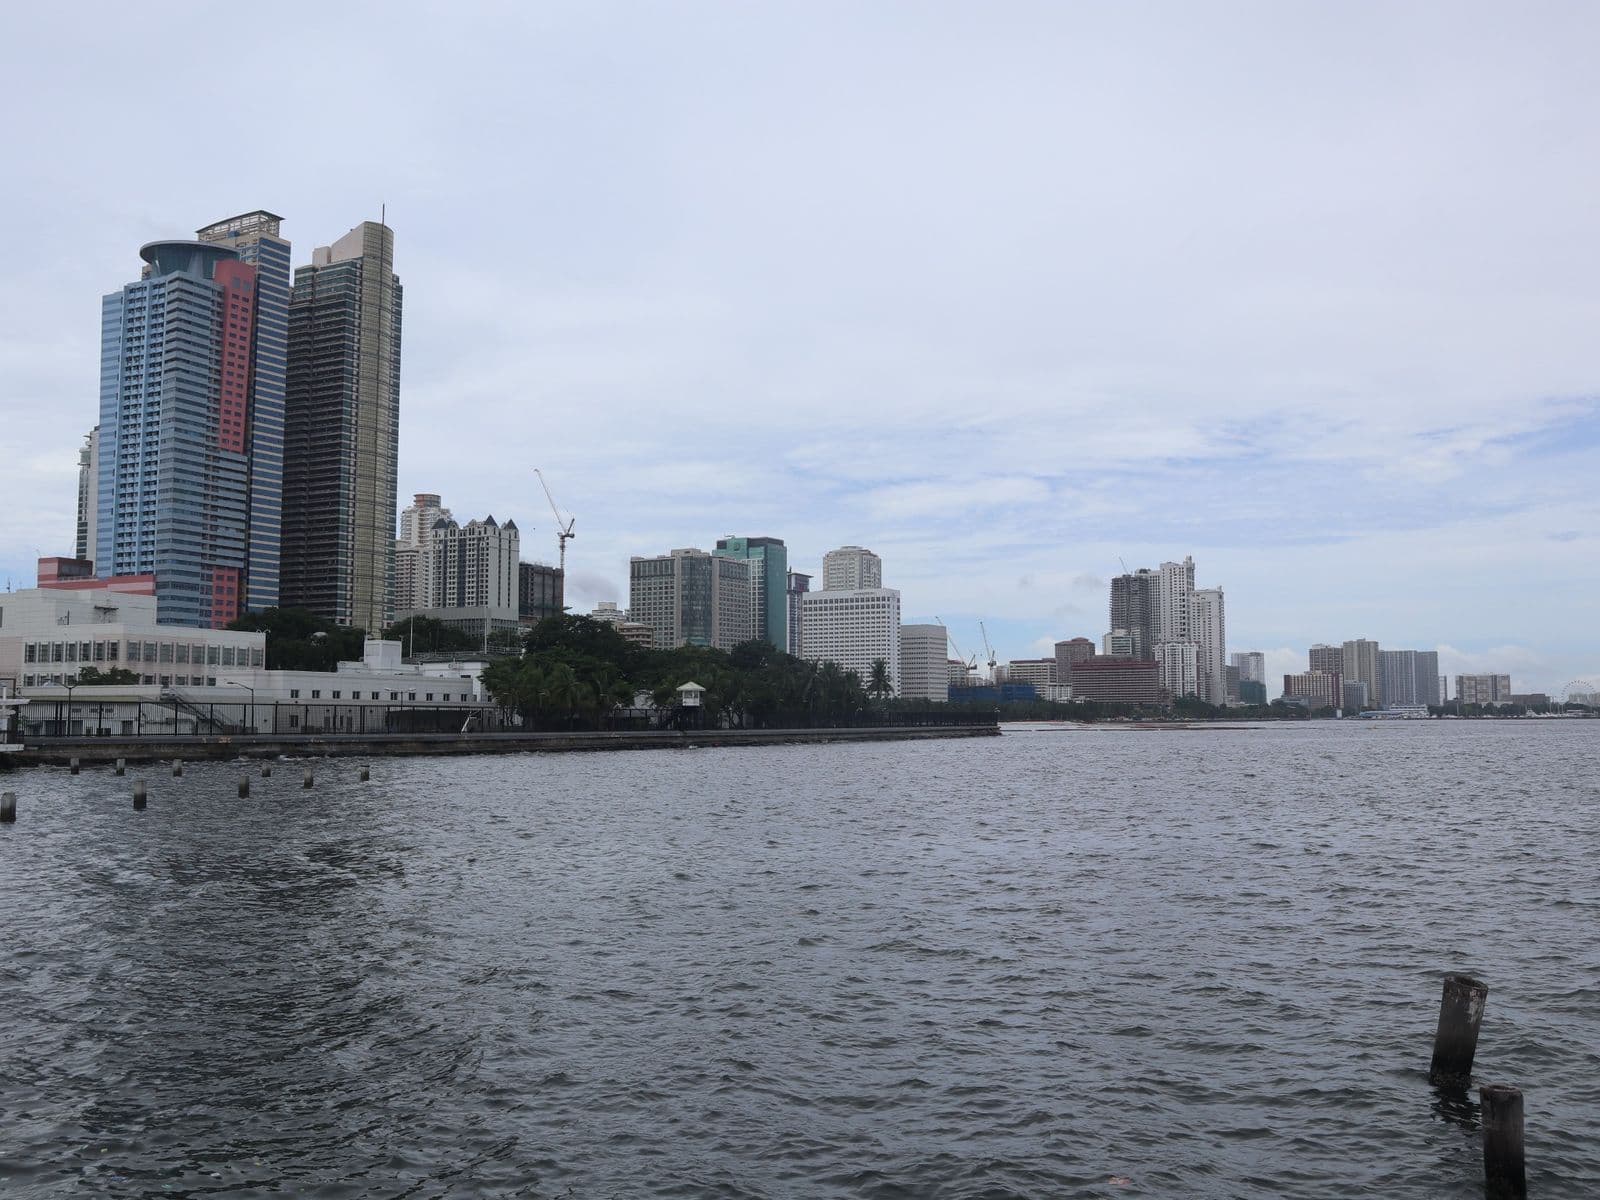
Manila, Philippines
Quick port decision
Can I DIY?
Conditional
Moderate on your own
Main attraction
Intramuros heritage and Fort Santiago
Getting from the ship
Transport needed
Public transport: Limited
Return risk
Moderate
Manila traffic and final passenger-terminal access
Top sights
Intramuros and Fort Santiago
A historic walled-city outing with entry and walking routes to check.
San Agustin Church
A heritage church within Intramuros; respect services and confirm visitor access.
DIY vs. excursion
Can I DIY this?
Conditional
Getting around
Moderate
Excursion
Helpful
Return risk
Moderate
Main risk
Manila traffic and final passenger-terminal access
Allow room for road delays and the correct port entrance. Museum entry, historic walking and traffic can each extend the visit; shorten the sightseeing route if the return journey needs more time.
Getting from the ship
To Intramuros heritage and Fort Santiago
First connection
Confirm the passenger-terminal exit and arrange a vehicle to Intramuros. Establish the pickup location for return before beginning the historic-street route.
Return planning
Allow room for road delays and the correct port entrance. Museum entry, historic walking and traffic can each extend the visit; shorten the sightseeing route if the return journey needs more time.
Public transport: Limited
Exploring Manila, Philippines
Simplest approach
Choose Fort Santiago and a manageable Intramuros walk, adding San Agustin Church only when visitor access and remaining time suit. Keep food stops in the same area instead of adding a cross-city shopping trip.
Official transport links
Practical notes
Accessibility
Historic paving and fort or church visits can involve steps. Confirm suitable vehicle pickup and attraction access before selecting the walking route.
Weather
Plan shade and indoor breaks in heat. Rain can make historic paving or archaeological paths slippery; shorten exposed outdoor stops around the forecast.
Worth booking ahead?
Yes
Cruises calling here
6 routes in Galythia's catalogue include Manila, Philippines.
Image credits
Photo: Patrickroque01 / Wikimedia Commons · CC BY-SA 4.0 · resized and compressed · CC BY-SA 4.0